FailCar's detailed guide to detailing
There must be something in the air, as not only has a Citroën ZX been added to the PetrolBlog Fleet, but Ton Dumans has just bought an MG ZS. Not to be outdone, FailCar has gone and bought a MK1 Skoda Fabia vRS.
So naturally, the first thing he does it put in the garage for a bit of cleaning. Fortunately, he's written a long promised guide to car detailing. Sadly, he stops short of showing us how to clean the inside of the tyre valve caps.
Since I did my last cleaning blog I have been meaning to go into more detail for those that would like to know more about detailing and the products I use. When I post pictures I often get questions that hopefully these ramblings will answer.
I think people get put off detailing from the horror stories about burning through paint and seeing some of the hardcore nutters on the forums that have taken to using a toothbrush to clean the nuts that hold the wheel arch liners in place and using earbuds to clean in-between door hinges or some such bloody nonsense.
When I got into detailing I just wanted to make a difference to the car's paint and figure out some light restoration techniques that are especially handy when you drive retro cars, especially black ones! I’ve used a lot of different products and tried and tested a few methods and my latest kit I find is one that I’m pretty happy with and does not cost a fortune.
Following on from the first blog on the basic cleaning and claying process this is what comes after and it starts with a Kestrel, not a bird but rather a DAS-6 random orbital polisher.

The main benefit of the random orbital polishers is unlike the rotary machines you really would struggle to make an arse of your paintwork unless you dropped it on the car. The negatives of the random orbital polishers is that if you really need some hardcore correction done then they don’t quite cut it. Literally.
There is a fantastic guide that goes into great depths available on Detailing World explaining in detail the differences between the machines and how to use them and what sort of correction you need and I would recommend having a good old read of this before doing anything as it gives you a good understanding of what you are actually doing. Have a read of the guide here.

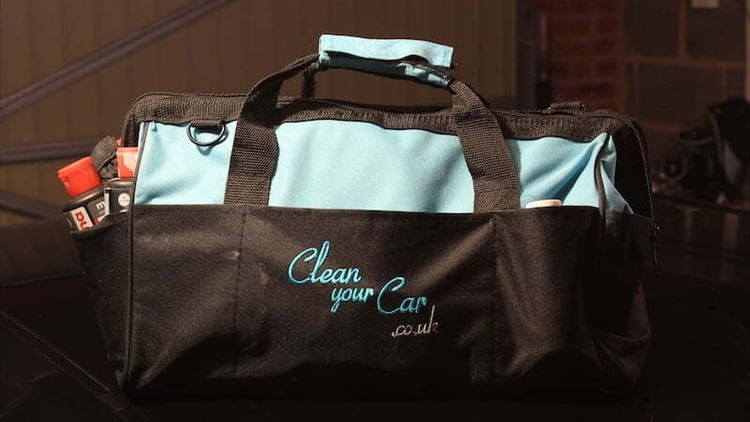
My kit is what could be described as a great basic amateur detailing set that I got from cleanyourcar.co.uk. I have a few other products as well, two huge crates to be precise, but for this and to stop overly complicating things I’ll just stick to what comes with this kit.
In the Sonus and Menzerna kit you get three different polishes ‘power gloss’, ‘intensive polish’ ‘and final finish’. Each have different grades of coarseness, so just think of them of different types of exfoliating scrub.

Each bottle has a handy little graphic on the front which tells you how coarse (aggressive) it is. You really are supposed to start with the least aggressive product and then work your way up if necessary to the most aggressive. You also need to correctly match the polish with the differing grades of foam pads.
Four Sonus pads come with the kit and like the polish they all have differing levels of correction on offer. The pads are named ‘restore’ ‘enhance’ ‘finish’ and ‘final finish’. Giving them a squidge you can feel the difference between the textures and foam density. The bags the pads come in also tell you what they are intended for although confusingly this refers to Sonus products rather than the Menzerna although it’s simple enough to figure out what pad goes with which polish and you can also mix up combinations.

The main reason I use mine is to remove swirl marks and random scrapes and scratches in the lacquer that are usually a result of a car being cleaned badly or it can just happen over time. The swirl marks in the paint usually look like cobwebs on the cars surface and are especially noticeable in sunlight on darker coloured cars. As a result the light reflections go all over the place and the car can look a bit pants and tired. This is not something that a wax will sort out, the swirls need to be removed.

The level of aggression required can depend on a number of factors including how badly the paint is swirled and how soft or hard the clear coat on the car is. This varies from manufacturer to manufacturer and even panel to panel due to the way the car has been painted. My (now departed) Honda S2000 had very soft paint, so often just one pass with the least aggressive product did the trick. The 205 on the other hand has very hard paint so this required more aggression and an increase in blue language used during the process.
So first off it’s best to start with a little test on an inconspicuous area of the car...

Wait! I forgot to mention, before you start anything, all parts of exposed non-bodycolour plastic must be covered in magical blue tape. This stops you from leaving any polish or wax marks on the plastics which are a right pain in the arse to get off. On the Fabia this was a quick process that took two minutes. On the 205 I clear a space in the diary. The blue detailers tape made by 3M is low-tack and is good for not leaving marks when removed. Any bodyshop masking tape seems to do the trick, but blue looks cool right?

Anyway now that you’re taped up you can test one of the products so stick a couple of blobs onto the relevant pad and then with the polisher switched off dab a bit around onto the surface and smear it around a bit with the pad. This stops the product from just flying all over the garage/your face when you turn the polisher on.
Starting with a low speed on the polisher (I use setting 3) work the product around the area slowly in a back and forth motion, in order for these products to work correctly they need to be broken down so after a couple of passes increase the speed (I go up to 5, before you ask no, they don’t go up to 11) and continue to pass it over the paint.
Once that’s complete give the area a wipe down with a clean microfiber cloth and examine your handywork in the by looking at the angle of the light hitting the paintwork. The real way to see the difference here is to then look at an area of the car that you haven’t treated and see the improvement. With the results from this you should then be able to determine if the product you have used has been aggressive enough or if you need to go in harder.

Sometimes you can stop here and then just move on to giving the car a nice wax treatment, other times you aren’t so lucky.
With the more aggressive products although they can remove the swirl marks in the paint they also kindly leave marks of their own which show up as little, very fine scratches in the lacquer. In order to remove these you need to work your way through the polishes and pads starting with the most aggressive and finishing with the least aggressive in order to remove the marks.
I would say that a lot of practice helps and also be warned that including the cleaning process even a ‘quick’ detail can be around ten hours of work, but I would definitely recommend giving it a try for yourself. I started out by nicking my mates polisher before deciding to buy one myself.
Once the full process has been completed then sealing all that good work in is the name of the game so use a decent wax or synthetic sealant. I use three different waxes depending on what I want them for. A real glossy look I use R222, for a winter coat that I can just keep topping up I use Collinite 845 and for summer longevity I use a synthetic sealant, Wolf’s Body Wrap.

Providing you are careful when cleaning the car then you shouldn’t need to go through the whole detailing process again for a long time and all you’ll need to do once giving the car a wash is to give the wax a top-up.
The weather is a bit crap at the moment so I’ve not had a chance to get some decent snaps of the Fabia so here’s another popular member of the fleet that I did earlier.

So you see it’s not that hard and you don’t need to be an OCD crazy forum person to do it. Now I just have to finish up removing polishing residue from the gaps with a paintbrush, I bet some some earbuds would really do the trick for the washer jet nozzles...
Remember to follow @FailCar on twitter.