FailCar's guide to car cleaning
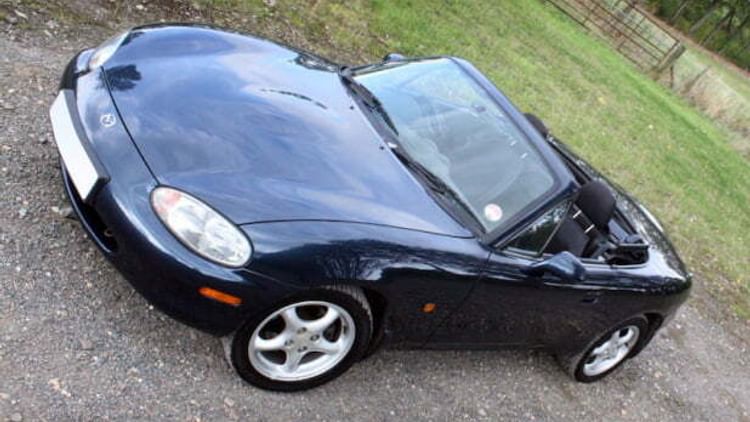
FailCar presents his guide to cleaning a car, using his very own Mazda MX-5 by way of a demonstration.
FailCar is back on PetrolBlog! But rather than delight us all with pictures of his lovely 205 GTi, he instead turns his attention to his essential car cleaning guide. Based on how brilliantly he prepared the 205, I'd say his lead is well worth following.
I have to start by saying that this is not going to be some uber-anal cleaning guide. There will be no paint depth gauges or sunlamps here. I am by no stretch of the imagination a detailing expert but everything I have done has come from testing, the internet and I did actually go to a detailing day once. But please don’t hold it against me.
I’m not going to turn into the Astra VXR guy.
Washing
 OK first up you need to give the car a good rinse to get all the loose dirt off. I wouldn’t recommend using a pressure washer on the bodywork as blasting dirt across the car is going to cause swirling etc in the lacquer. But you can go nuts with a pressure washer under the arches, wheels, bug covered glass and crevices full of crud etc.
Once the car has been given a good rinse it’s time to get soapy. Here I use Meguires Gold Class Shampoo and conditioner. Bucket and warm water and crucially a decent wool mitt, not a sponge. Sponges trap dirt between themselves and the paint and this is bad. Especially with darker paint colours as this is what causes swirls in the laquer and you get that ‘cobweb’ effect on the surface.
Starting with the least dirty bits of the car and working your way down generally works best for me. Use a different side of the mitt for the lower really filthy areas, you don’t want to drag any grit etc all over the car. Of course just keep rinsing the car as you go. You really are supposed to use the two-bucket method, but I’m lazy so...I don’t.
Wheels
 For wheels sometimes it’s necessary to use a specialist cleaner as brake dust and crud can really be a right bugger to remove. I use Bilberry Wheel Cleaner, while it might smell rather good and look like blackcurrant cordial it probably doesn't taste quite so nice. Well, it might but I’m not suggesting that you try it.
It does require mixing with water though and I would basically alter the solution depending on how messy your wheels are. Take note though you will need to get hold of a spray bottle to apply the product.
Give the wheels a bit of a soaking with water first, then simply spray the Bilberry Wheel Cleaner on. It’s quite sticky stuff and will ‘cling’ to the wheels.
It takes ten minutes or so to soak in and then agitate the product with a stiff brush. Hose it all off and like magic the wheels are all shiny and clean. Unless they are really filthy. In which case just repeat the process.
Claying
 OK car all clean now? Well here is the point at which if you want you can get into the ‘claying process’. It takes ages, it’s a pain in the arse and generally being motivated to do it can be hard. But it is worth it.
Claying removes all the crap that can be embedded in the lacquer. So even when you think your car is all nice and clean it can actually be filthy. When I clayed the 205 it was barely believable the amount of stuff that came off of it. There are a few different clays available but the one I like is Poorboys Poly-Elastic Clay. Break a bit off, mould it in your hands so it’s nice and malleable so you have a nice flat piece. You will need a lubricant to make the process work and here a quick detailing spray is good or I actually find that a cheaper method is to use some soapy water.
Mist your lubricant on with a spray bottle and then drag the clay over the bodywork. You will be able to feel the difference in the paint pretty quickly and you can even focus on problem areas with paint-transfer (as I found out when cleaning my girlfriend’s car) and blobs of tar. It will take time and to get a decent technique just takes a bit of practice really.
Check out the before and after shots for some more visible contaminant (sap) removal with clay.


Glass
 Best thing to do now is to get the glass polish out. I use Autoglym Glass Polish along with a very useful cloth that I actually got from Halfords.
It has mesh on one side which is great for removing bugs and a decent cloth on the other side for applying/removing the polish.
Cleaning (again)
 Sadly now you have to clean the car again (sorry). It’s going to be covered in claying marks, streaks and that Autoglym stuff also makes a white fine residue appear - so a quick once over with some fresh water and the mitt is required.
Now the car is naked. So best start working on the paint then. Most cars will suffer from swirl marks so there are products on the market to deal with this fairly easily. There are varying levels of corrections and to be honest I could spend all day doing a guide just on that and the various products and methods (wet sanding etc) to deal with it. For the sake of this guide I will just stick to one of the quick products that I use. Poorboys Black Hole Glaze.
This stuff is for darker colours however there is a version for lighter coloured paint. Applying it is simple it goes on just like a polish. For application you can use a pad or do it by machine. I use a Kestrel DA that I always borrow off a mate, (I’m a tight arse and refuse to buy my own). But to be honest you can get fairly decent results by hand. It works by ‘filling’ in the swirls rather than actually eradicating them like an abrasive compound would. But for a quick job for a bit of amateur cleaning it’s spot on.
Polishing
 Next up it’s time for the polishing stage. This is what gives the car a depth of shine. Again this can be done by machine or hand. I use Poorboys Professional Polish. It can be quite tough stuff to buff off so it’s best to do a panel and then buff it right off rather than doing the whole car and then going round afterwards.
Wait - I did mention to buy loads of decent microfiber cloths for all this buffing, didn’t I?
Waxing
 With the paint all nice and polished you really need to seal in all your good work and give it a nice shine too. This is where a decent wax will come in. You can spend silly amounts on wax that comes in containers made from unobtanium and mixed using unicorn semen. I heard from a pro guy that works for one of the major detailing companies that it’s mostly marketing balls.
I use two kinds of wax, R222 for summer and Collinite Insulator for ultimate winter protection. R222 is a hard wax and I use a Meguires even coat applicator to put it on. Once it’s warmed up it’s very easy to apply. Wait until the wax has dried before buffing it off, the way to test this is to run your finger on the surface, if it smears across then it’s still wet. If it comes off then it’s time to get buffing.
Wipe it all off with a microfiber and then stand back and admire your sheeny shiny car. Oooo...pretty. This is usually the point at which when you are cleaning a car in order to sell it you then decide you actually want to keep it. Or is it just me that does that?
I usually finish off the job with a bit of tyre dressing. Autoglym Tyre Dressing is quick and easy to apply and it looks pretty decent too. It won’t last for very long but in my experience tyre dressings never do.
The result
Once you have done all this the car is all sealed with the wax protection so next time just a quick clean and a chamois will do. You probably won’t have to do this whole process again for a few months. This means for a couple of hours of effort the car will be easier to clean in future and will look great when you’re done.
In the winter I tend to lather the car up with insulator wax and just let it get filthy. Sometimes, filth can just look damn good on a car See I’m not totally OCD, right?


I’m off to re-arrange all the Coke cans in the fridge so they are facing forwards, and I think the salt shaker had more granules in than the pepper which just messes with the balan...
Wait, is that some dust on my monitor?